|
|
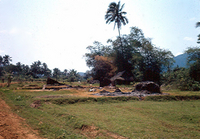
VillageSearch.jpg130 views
|
|
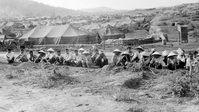
Turner_14.jpg130 views
|
|
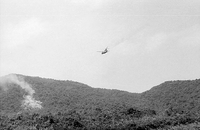
Turner_17.jpgTarget Practice130 viewsCH-47 Armed Chinooks, "Guns A-Go-Go" provide demonstrations and target practice.
|
|
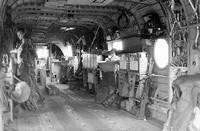
Turner_31.jpgInside Guns A-Go-Go130 viewsLooking inside a flying ammo gunship.
|
|
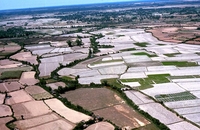
Turner_65.jpgRice Paddies130 viewsThe ever-present rice paddies found in South Vietnam.
|
|
Turner_97.jpg130 views
|
|
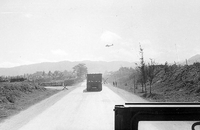
Turner_103.jpgHwy 1?130 viewsProbably the highway between Qui Nhon and An Khe.
|
|
TR58.jpg130 views
|
|
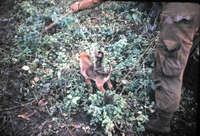
TR61.jpgDog Trick130 viewsTeaching a young dog new tricks. Small monkey gets a free ride.
|
|
TR68.jpg130 views
|
|
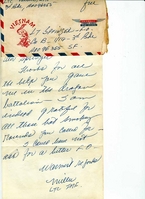
GDSd.jpgA great big "thank you"130 viewsLtCol "Wild Bill" Miller of the 1/14th took the time to write a letter of thanks to an FO. Now, it's a prized possession 40 years later.
|
|
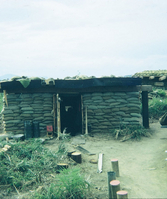
JW-4.JPGEnlisted FDC Bunker130 viewsSeveral items of interest here: the neatly stacked sandbags, the pickaxe, the water cans and wash basin, and canteen cups hanging off the roof. Note there is a DOOR on this bunker! Now that's civilized!
|
|
| 4987 files on 416 page(s) |
 |
 |
 |
 |
 |
268 |  |
 |
 |
 |
|
