|
|
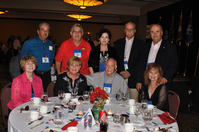
red3-2010.jpgTable Shot248 viewsSeated at Table 24: Jackie Dauphin, Barb Keith, and Lorraine Knight. Standing are Dennis Dauphin, Greg Malnar, Lisa Kurtgis, Byron Kurtgis, and Mike Kurtgis. Photo courtesy of Steve Rainbolt.
|
|
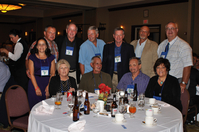
DSC_0023.jpg248 viewsPhoto courtesy of Steve Rainbolt.
|
|
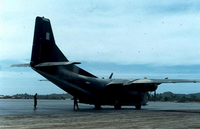
C-123.jpgC-123247 viewsA cargo workhorse plane in Nam, each ride rattled your teeth and you could almost hear the bolts falling off.
|
|
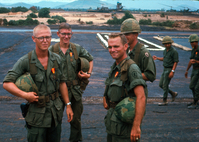
DJ-5.jpgAwards Day247 viewsLt Dennis Munden, FO; Lt Jim Deloney, FO, and Capt Doug Johnson receive medals at a Vietnamese awards ceremony at Brigade Base Camp.
|
|
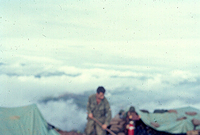
TamKyClouds2.jpgThe Final Days247 viewsWorking above the clouds...hard to believe.
|
|
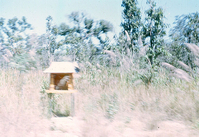
Roadside.jpgChapel247 viewsThroughout the roadsides of Vietnam's highways, one could always find mini-temples for prayer. This photo taken from a speeding convoy.
|
|
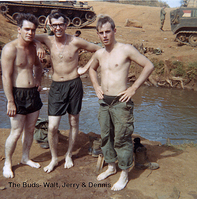
WS-7.JPGThe Good Buddies247 viewsWalt Schneidereit, PFC Jerry Genson, and PFC Dennis Couch
|
|
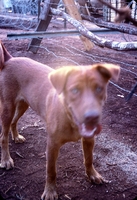
TS-D4.JPGGoing to the Dogs: Mascots of Bravo Battery247 views"Look what those C-rats are doing to my teeth!"
Mocha the mascot.
|
|
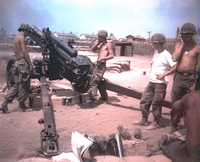
JWW1.jpgFire Mission!247 viewsContributed by Sp4 J. William Ward of "B" Battery. Location is "Kontum City", 1968. Tube is nicknamed "Cry Baby". Note the use of non-standard military ear protection devices (fingers). No wonder we're all retired and deaf.
|
|
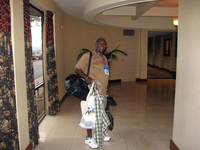
2010-Pitts28.JPGAdios!247 viewsSgt Ernest Correia packed up and ready to move out.
|
|
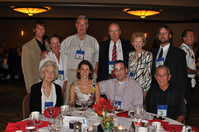
DSC_0026.jpgCapt Dave's gang, C-1-35247 viewsCapt Dave Collins, C-1-35, is seated with this daughter and son-in-law; Miss Rosemary is at far left.
Photo courtesy of Steve Rainbolt.
|
|
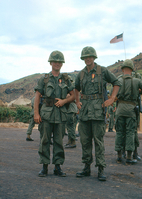
DJ-6.jpgVietnamese Awards Ceremony246 viewsMaj Doug Johnson and Lt Don Keith display Vietnamese medals.
|
|
| 4987 files on 416 page(s) |
 |
 |
 |
 |
 |
26 |  |
 |
 |
 |
|
