|
|
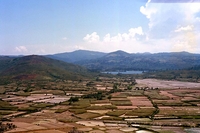
Turner_89.jpgThe Central Highlands142 viewsTypical scene in the Central Highlands...hills, lakes, and rice paddies.
|
|
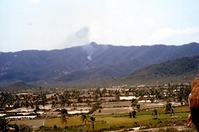
Turner_122.jpg142 views
|
|
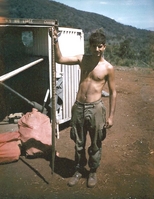
TR22.jpgBest Snake - Dead Snake142 viewsMay, 1968 Location: LZ Duke
I could use him for a ruler, but I won't. Note that the CONEX was "requisitioned" from the Air Force.
|
|
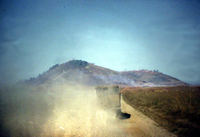
TR45.jpgFDC CONEX142 viewsOur FDC CONEX gets moved by flatbed.
|
|
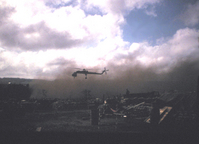
TR49.jpgIf it ain't nailed down142 viewsYou thought a CH-47 Chinook would blow you away...just wait till a Sky Crane showed up!
|
|
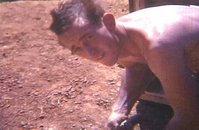
EMoor14.jpgUnknown142 viewsDuc Pho, Pleiku area, 66-67
|
|
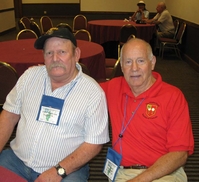
SA-6.JPGTRIFECTA!!142 viewsTrifecta - Part I: at left is Sgt John Waldman who served as Lt Don Keith's RTO in 1967. It was John's first visit to a 35th Inf Regt reunion.
|
|
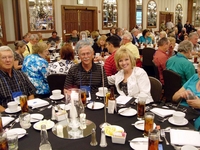
BL-11.JPGThe Saturday Night Banquet142 viewsBanquet photos courtesy of Lt Bert Landau, FO, 2/9th Arty.
|
|
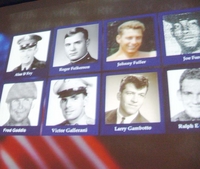
BL-9a.jpgThe Saturday Night Banquet142 viewsBanquet photos courtesy of Lt Bert Landau, FO, 2/9th Arty.
|
|
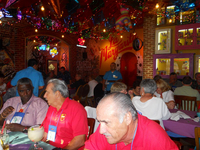
J_Orr-22.JPGFriday Night Special at LaMargarita142 viewsA very colorful time at a very colorful restaurant!
|
|
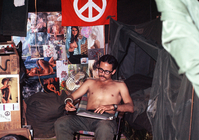
JM-6.JPGLabreck142 viewsJeff Labreck, Olympia, WA. Everyone stops by to see his photo collection.
|
|
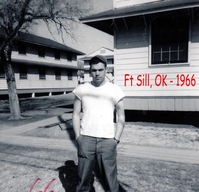
DY-1966.JPGHere's where it all started - Cannoncocker School142 viewsStanding in front of these old wooden barracks at Ft Sill, which are no longer there, was the start of a major adventure...a tour in Nam. Little did I know.
|
|
| 4987 files on 416 page(s) |
 |
 |
 |
 |
 |
207 |  |
 |
 |
 |
|
