|
|
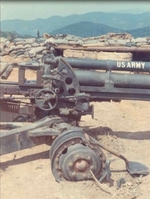
BB-91.JPG#4 Gun destroyed169 viewsOur #4 gun was hit with a recoilless rifle round. If you double-click and enlarge the photo, you can actually see where shrapnel penetrated the gear box.
|
|
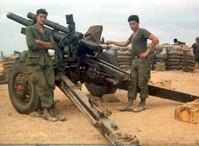
BB-10.JPGMe and Freddie161 viewsBob Becker...that's me...standing next to Freddie Martinez.
|
|
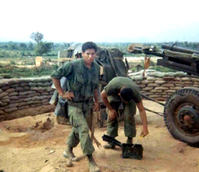
BB-2.JPGOn the double!157 viewsSection Chief Carlos Casteel on the left; redleg bending down is Ambrose Smurra.
|
|
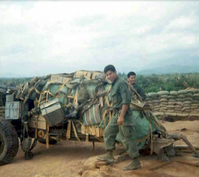
BB-3.JPGYes...we got orders to move154 viewsThe Section is on the move. Section Chief Carlos Casteel, left, and Freddy Martinez, right.
|
|
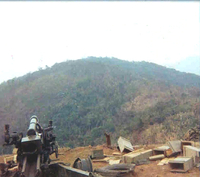
BB-82.JPGAftermath154 viewsThis is the #4 gun looking towards LZ Mile High.
|
|
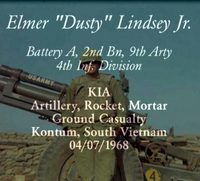
Lindsay_KIA.JPG153 views
|
|
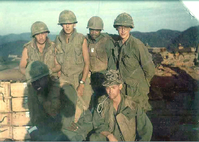
BB-89.JPGThe survivors152 viewsDanny McMillan and Bob Becker in the back row; remainder are UNK.
|
|
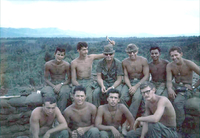
BB-66.JPG#4 Gun Section151 viewsOur #4 gun crew photo. Taken after some of the wounded guys came back along with 2 newly-assigned men.
Front L to R: Danny McMillan, Carl Willis, Charlie South and Sandy.
Back L to R: Bob Becker, Phil Orville, new Section Chief (UNK) Carlos Casteel, Bobby Gomez and UNK.
|
|
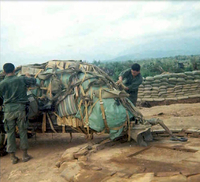
BB-4.JPGLeaving LZ Colt148 viewsCasteel and Martinez tighten the load to leave the LZ.
|
|
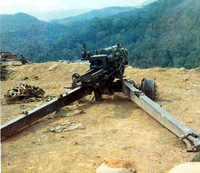
BB-80.JPGAftermath148 viewsThis is the appearance of the #4 gun after it was hit.
|
|
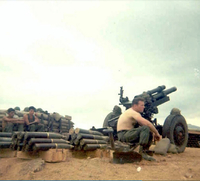
BB-13.JPGAnd there is always waiting....147 viewsWaiting on a fire mission. Me and Freddy with our backs against the wall. Sergeant Reedy sitting on the trail.
|
|
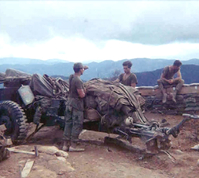
BB-37.JPGSomething in the valley146 viewsCarlos Casteel, Charlie South and I. Something in the valley got our attention.
|
|
|
|
